
Trying Out the Arisu Layout With the Gerald65
Only two months ago I put together my first custom mechanical keyboard. After a local mechanical keyboard meetup in the Boston area, I was keen to try out a new layout.
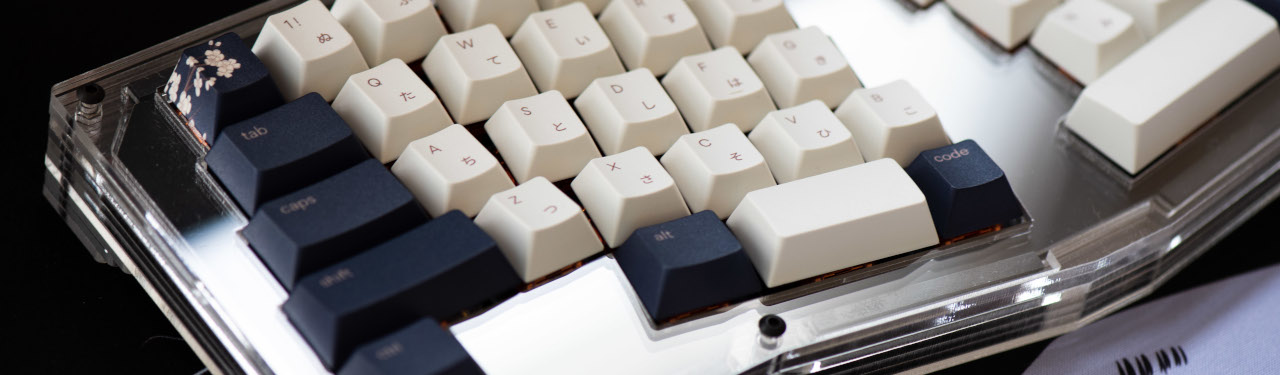
I managed to find an open box Gerald65 with an FR4 plate and stabilizers for $100, a crazy deal. The Gerald65 is a stacked acrylic keyboard which sports a more ergonomic layout where its home row is splayed apart and slightly curved to decrease ulnar deviation (much like the Microsoft ergonomic keyboards). The particular layout on this keyboard is a modified version of the Arisu layout (which itself is a modified version of the Alice layout, which does not have arrow keys) in that there are four instead of three extra modifiers on the right side above the arrow keys. Also, it doesn’t have the extra B key on the right side of the split (which I find obstrusive).
I was also interested in trying out linear switches. While I originally ordered some Akko V3 Cream Yellow switches, I found that the travel distance of the key was too short and made typing painful. Instead I ordered some C³ Equalz x TKC Tangerines in 62g weight, known to be a super smooth linear switch out of the box.

To get the most out of these switches I also lubed them with Krytox 205g0 to increase smoothness and added 0.125 mm switch film to reduce wobble. As it was my first time lubing and filming switches it took me a full two weeks just to finish (I had a measly rate of ~14 switches per hour!), but the end result was totally worth it.
I also used the Tsukimi R1 keycaps from Osume which I had originally intended to use for my first keyboard build. This set really resonates with me because my Chinese zodiac sign is the rabbit and one of my favorite Chinese holidays is the Mid-Autumn Festival. I also love the dark blue and brown color scheme.
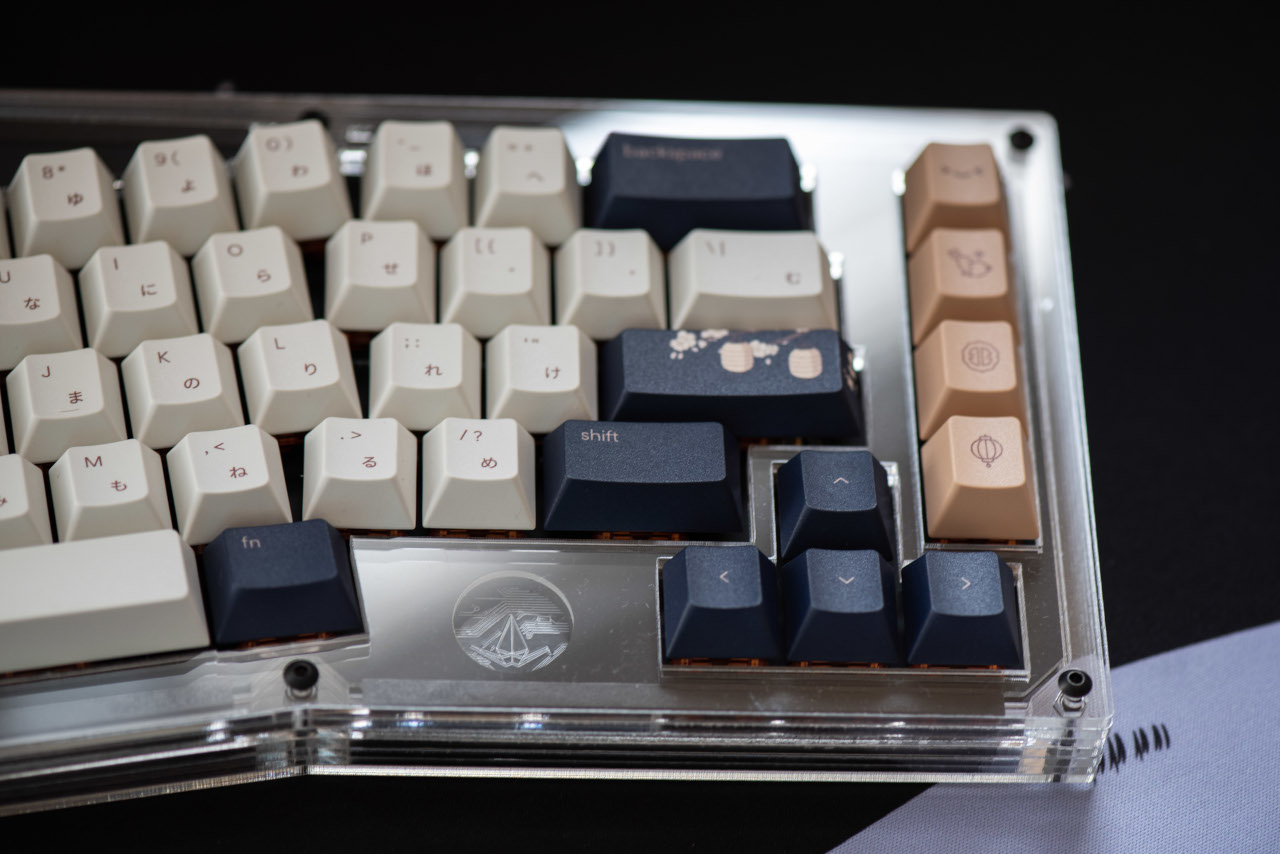
I really love this board as it’s full of character, such as the little window to the paper crane printed on the PCB. It also sounds fantastic—some combination of thocky, clacky, and marbly all in one. As a touch typer it’s also been really easy for me to adjust to the Alice layout.
I documented the build process for the keyboard in the video below, which includes a typing test at the end.